How to Make Paper Masks of Me & You from "I Don't Like You"
- Kristy Lankford

- Oct 21, 2021
- 2 min read
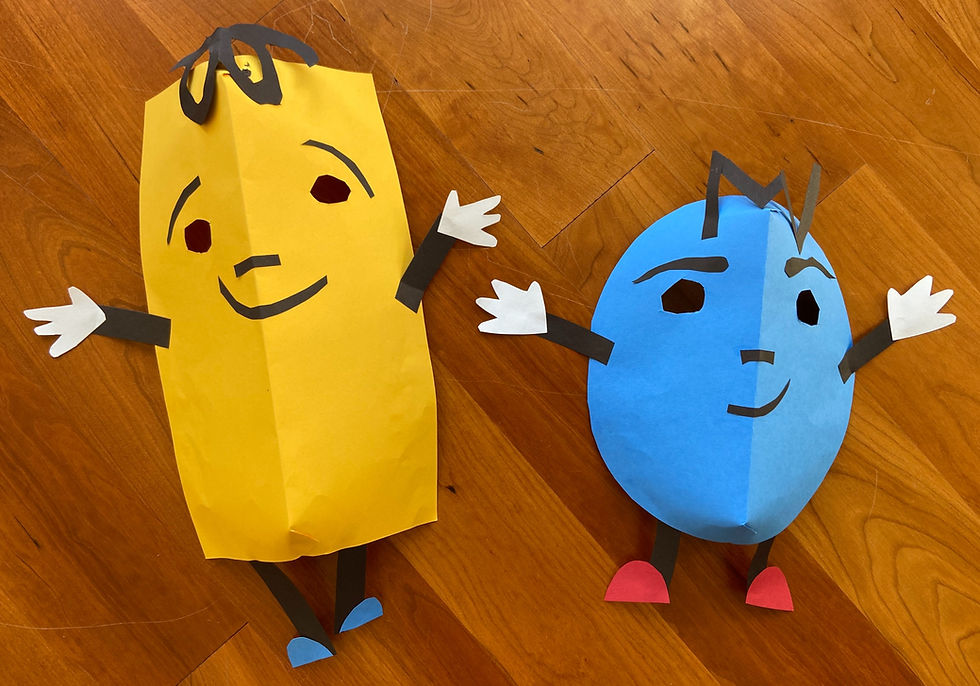
When I taught in elementary school, we would always make paper masks during the month of October. It was a fun way to bring the Halloween spirit into the art classroom. I thought it would be fun to make paper masks of my book characters, me and you, from "I Don't Like You."

You will need:
9" x 12" construction paper - blue, yellow, red, black, and white
Scissors
Glue

Directions:
Cut one piece of blue construction paper into a circle. Leave the yellow construction paper as a rectangle.

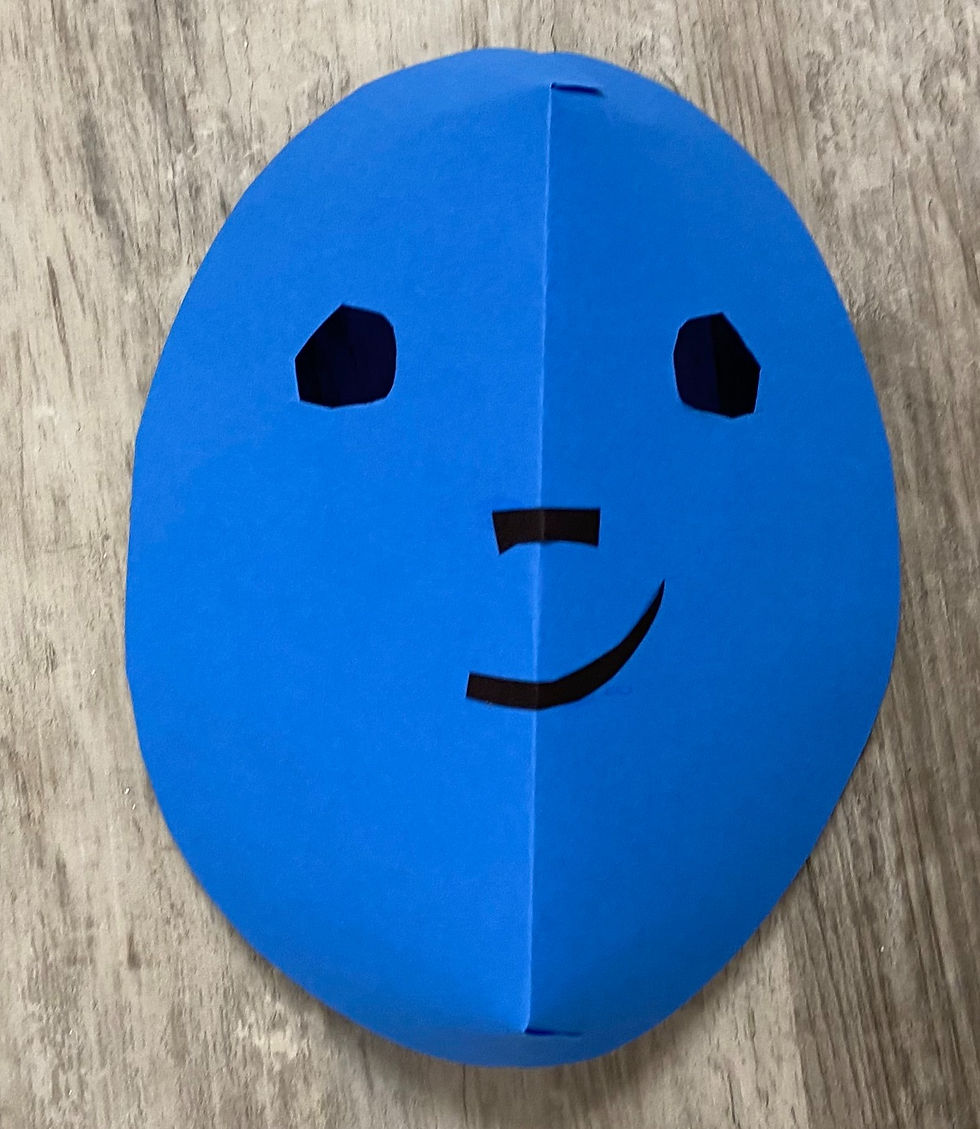
Fold each shape in half. Fold the yellow rectangle in half the tall, skinny way (hot dog shape as the kids say).

Draw and cut eye holes - kids, ask an adult for help; adults, you're on your own.

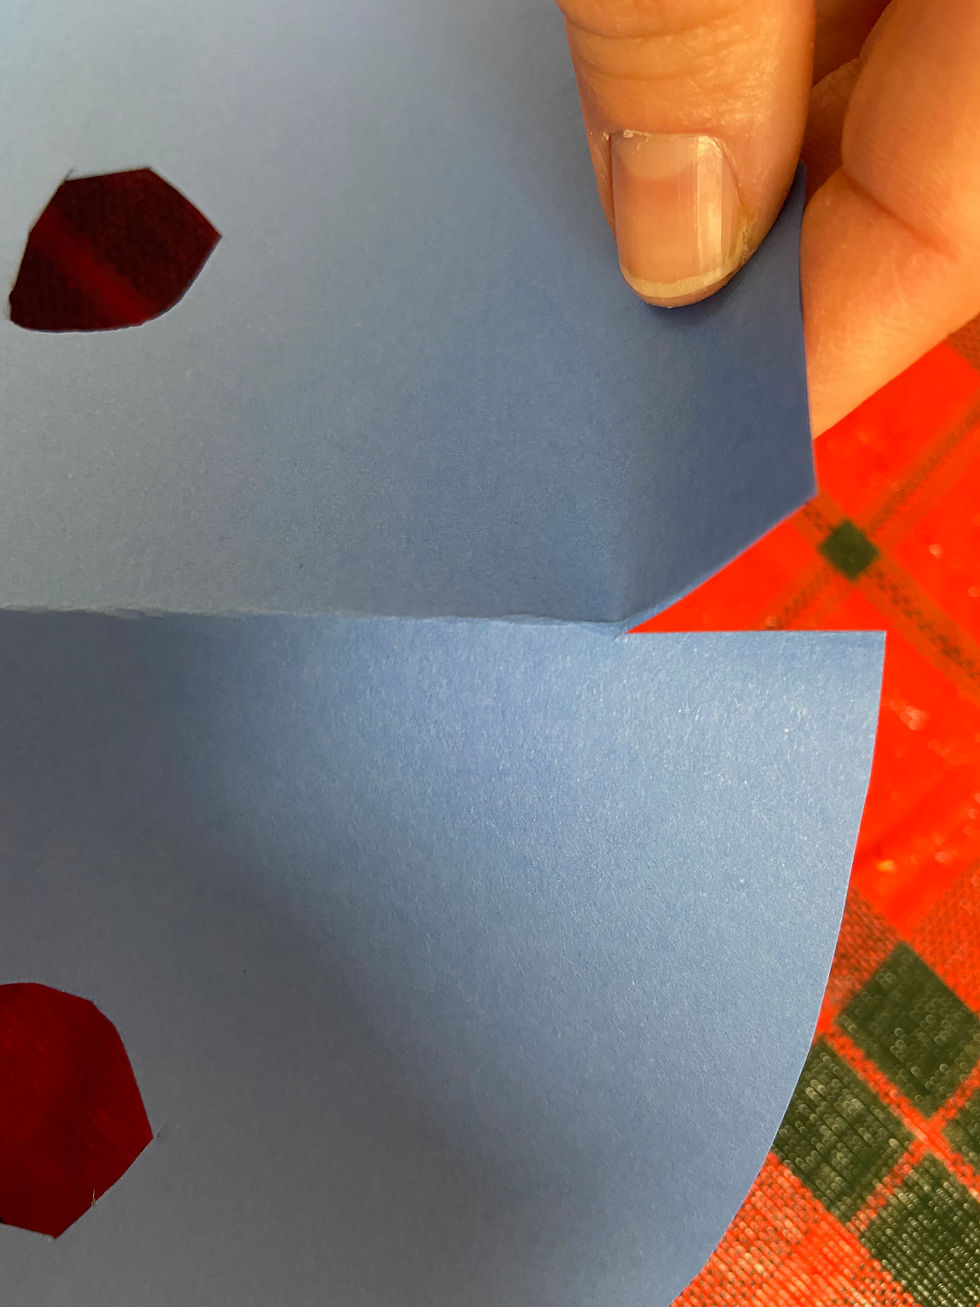
Cut a one inch slit in the top and bottom of the folded line.


Put a dot of glue on one side of the slit. Press the other side of the slit on top to glue the two sides together. Hold the pieces together for at least 30 seconds to make sure it sticks. Do this on the top and bottom of both masks. This helps the mask sit off of your face and makes it more 3D.


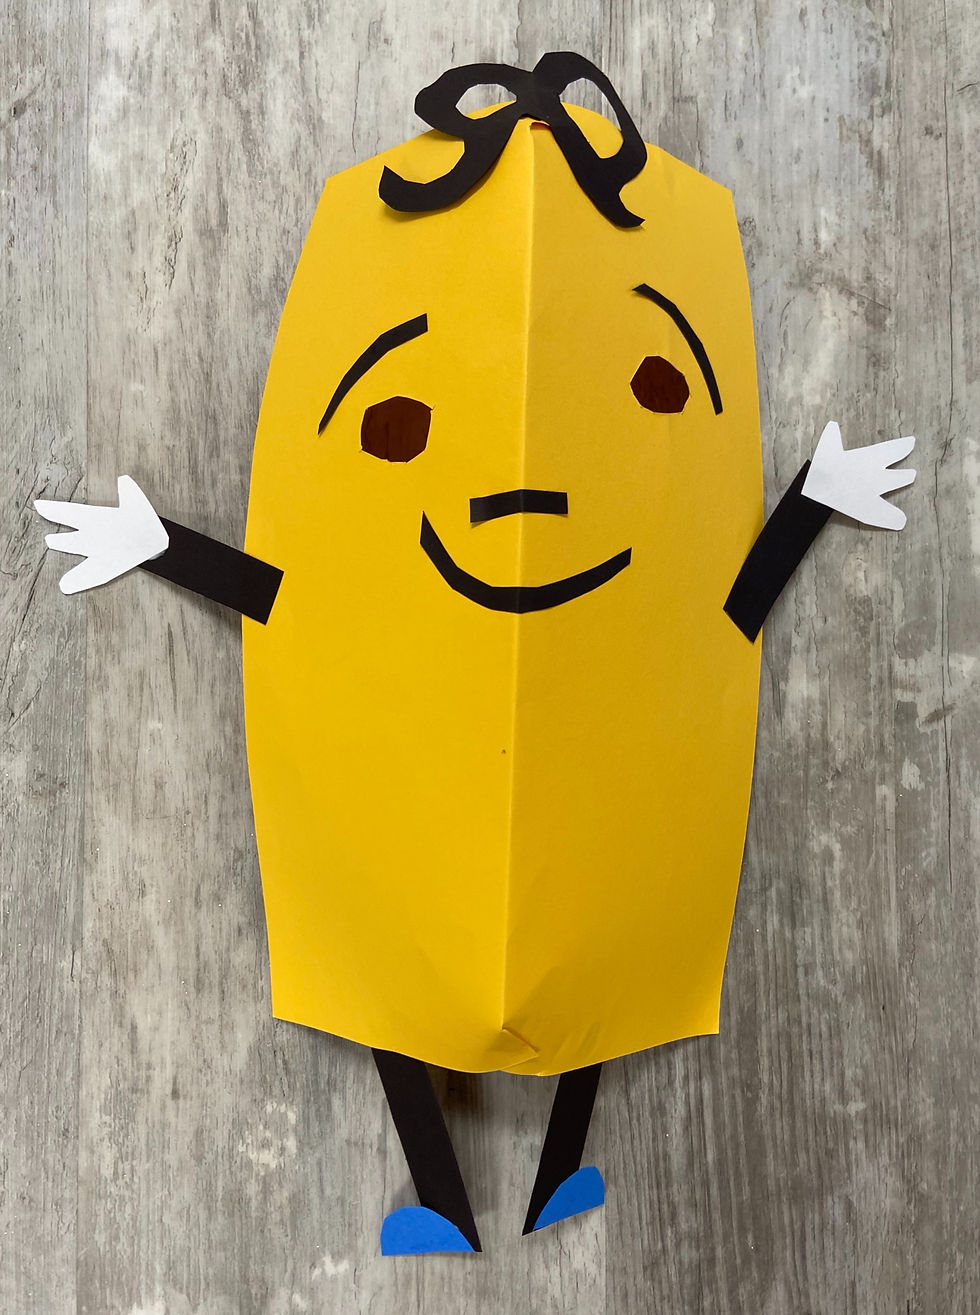
Now is the fun part! Time to decorate. Both me and you have black eyebrows, noses, mouths, hair, arms, and legs. Me, the blue circle, has zig zag hair, and usually one raised eyebrow. You, the yellow rectangle, has curly cue hair and eyebrows that sit outside the eyes. I think me looks a little more sassy and you looks a little more friendly, but you make their faces however you like. I used skinny rectangles for the arms and legs.


For the hands, you can draw one hand on white paper (they each have four fingers) and then layer it on top of 3 other pieces of paper. You can then cut four hands at once. This will save you some time. Draw the hands bigger than you think - it will make it easier to cut them out.

For the feet, me (the blue character) wears red shoes and you (the yellow character) wears blue shoes. I cut semi-circles for all four shoes.

You can add a piece of string to each side of the back of the mask if you want to have a way of tying your mask onto your head. You could even add a popsicle stick to the bottom to help hold it up. Whatever you do, make sure you have fun with it and show me what you make!

You can use this mask making technique to make all different kinds of characters, people, and animals. You can also draw or paint onto your mask rather than cut the pieces out of paper. Check out this tutorial from a fellow art teacher and my Fun Art Projects Pinterest board for more mask ideas.
In addition to being fun for Halloween, masks have been a fascinating part of the visual and performing arts world for centuries. They have been used in many cultures for ceremonial purposes, performances, and sometimes as disguises. Masks have inspired countless painters, photographers, sculptors, and other fine artists. Learn more about masks in fine art here at the Tate Modern website.
Can't wait to see what you create!


Comments